Every jig starts with a chuck of something. With some milling this chuck of steel is now a square rectangular solid.

Raw block of metel for jig

Jig material squared


Jig mounting slots cut.

Jig with blank label


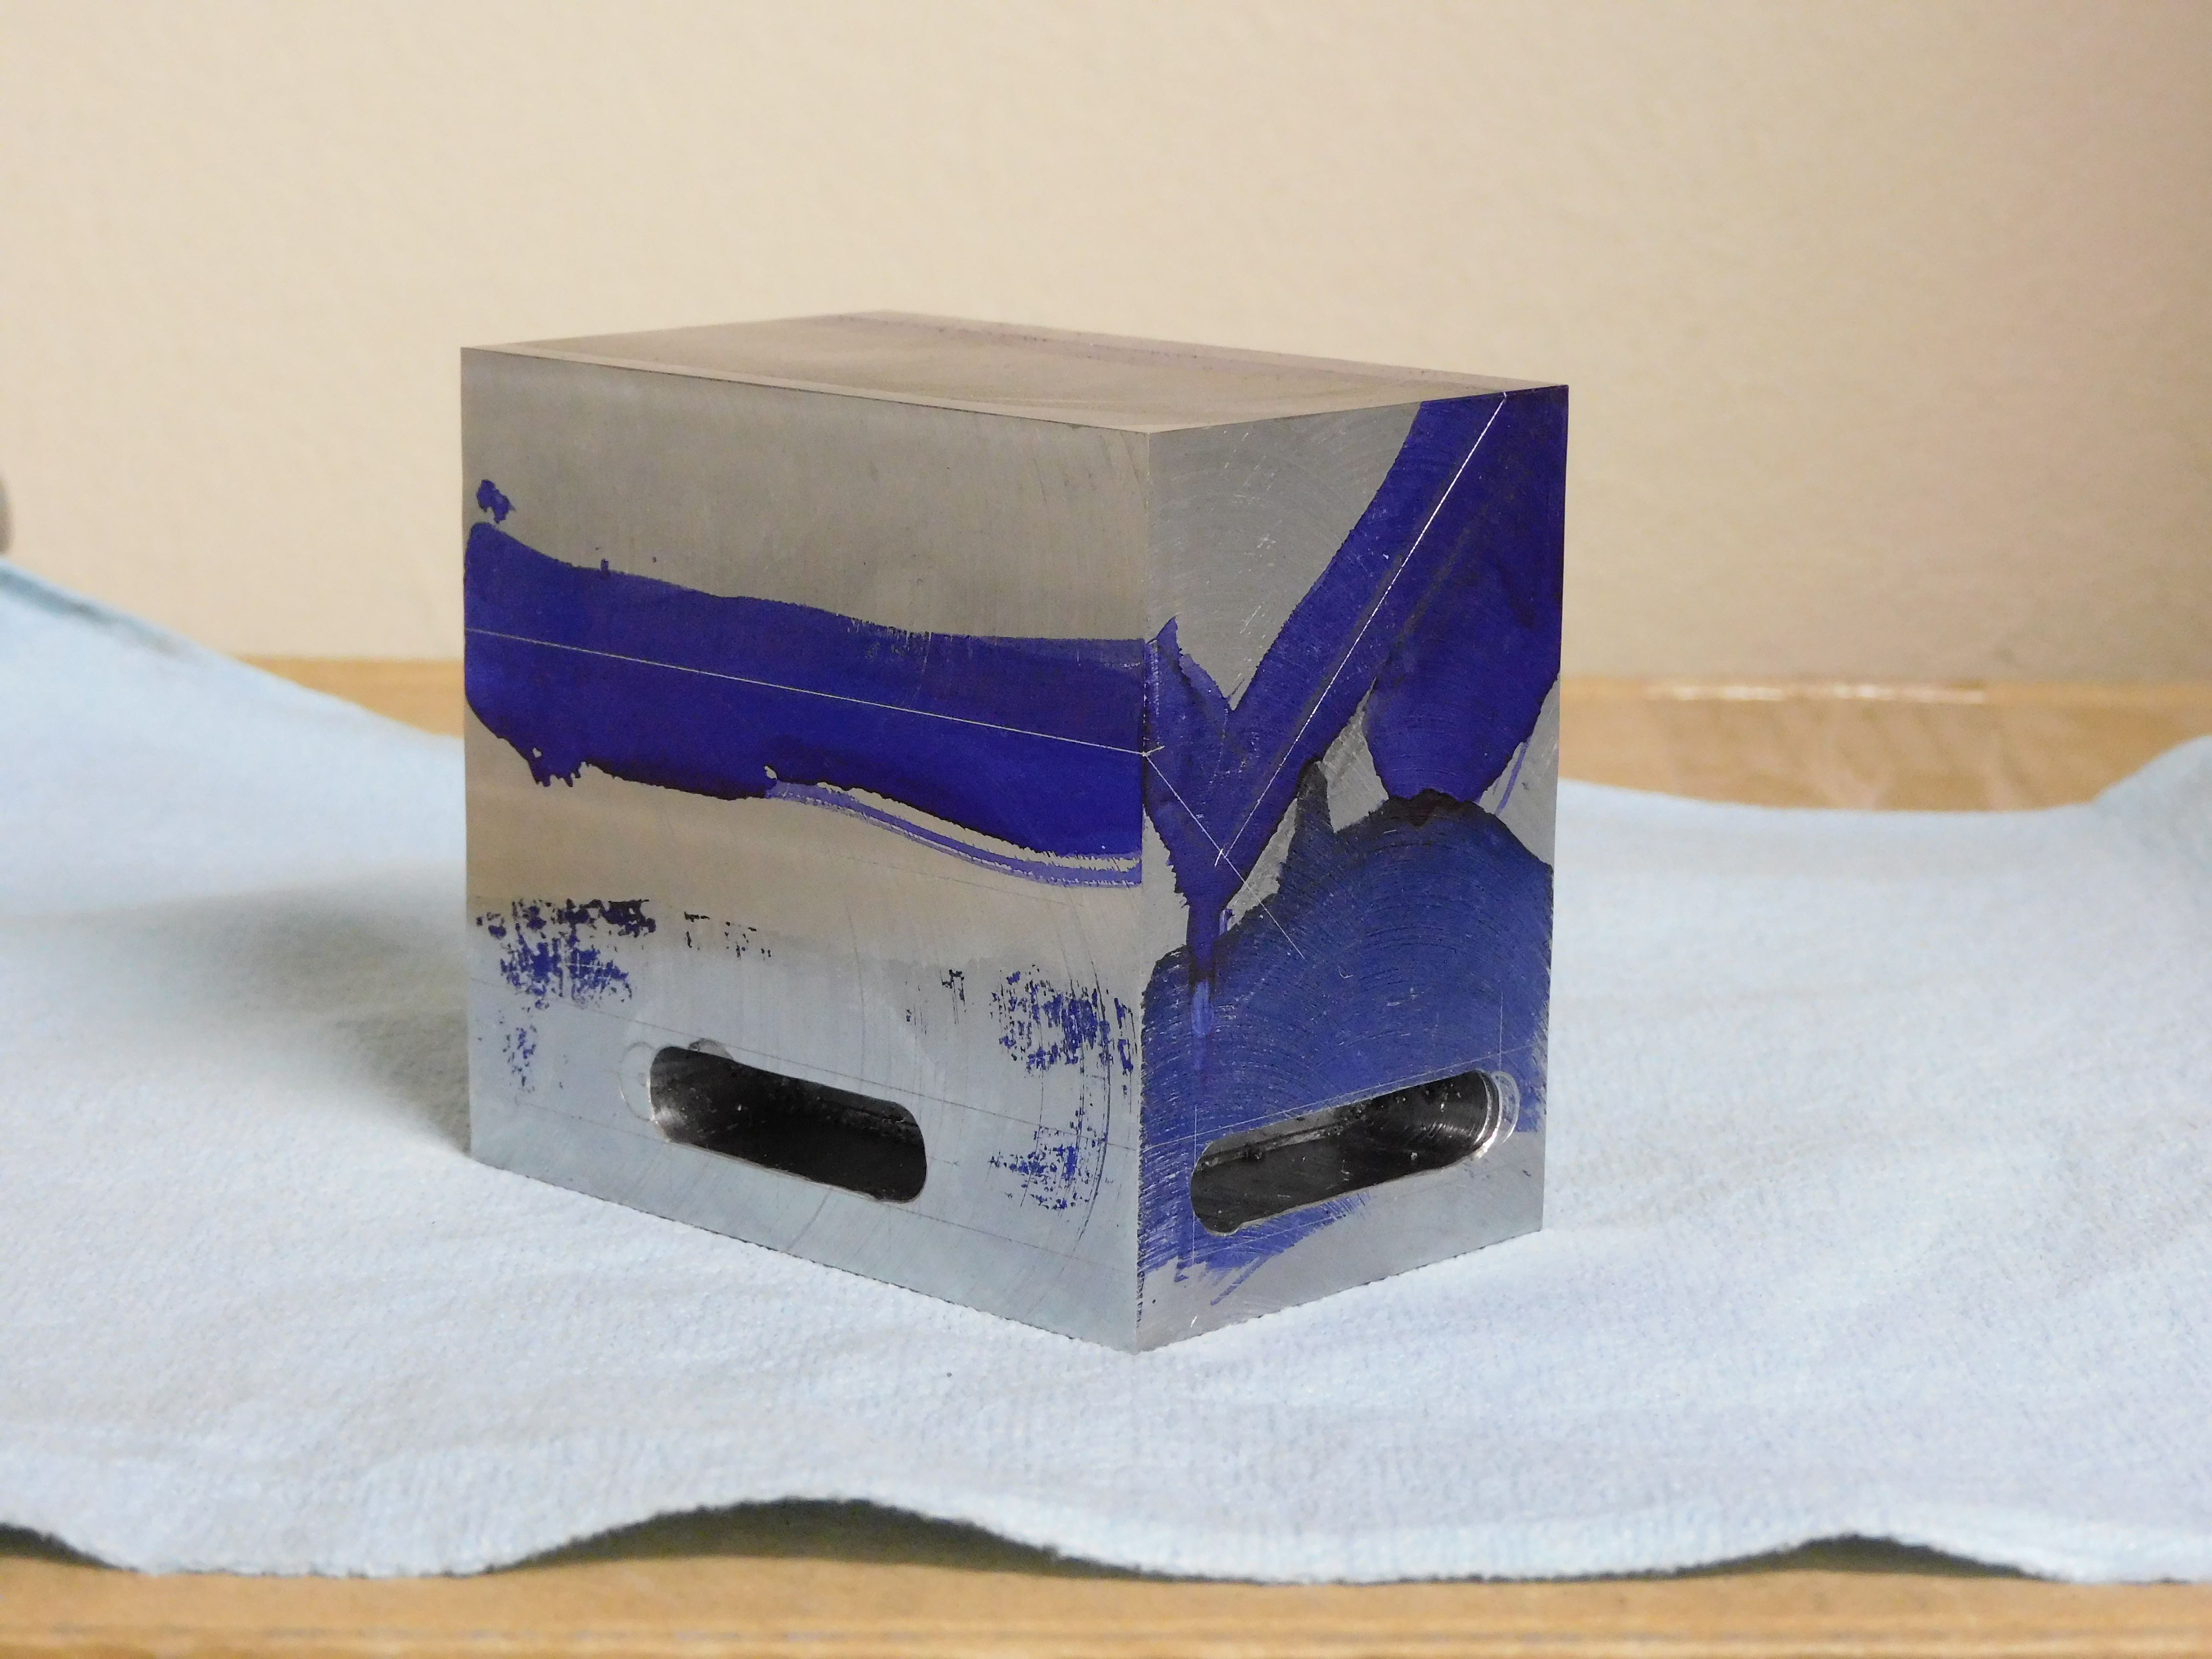
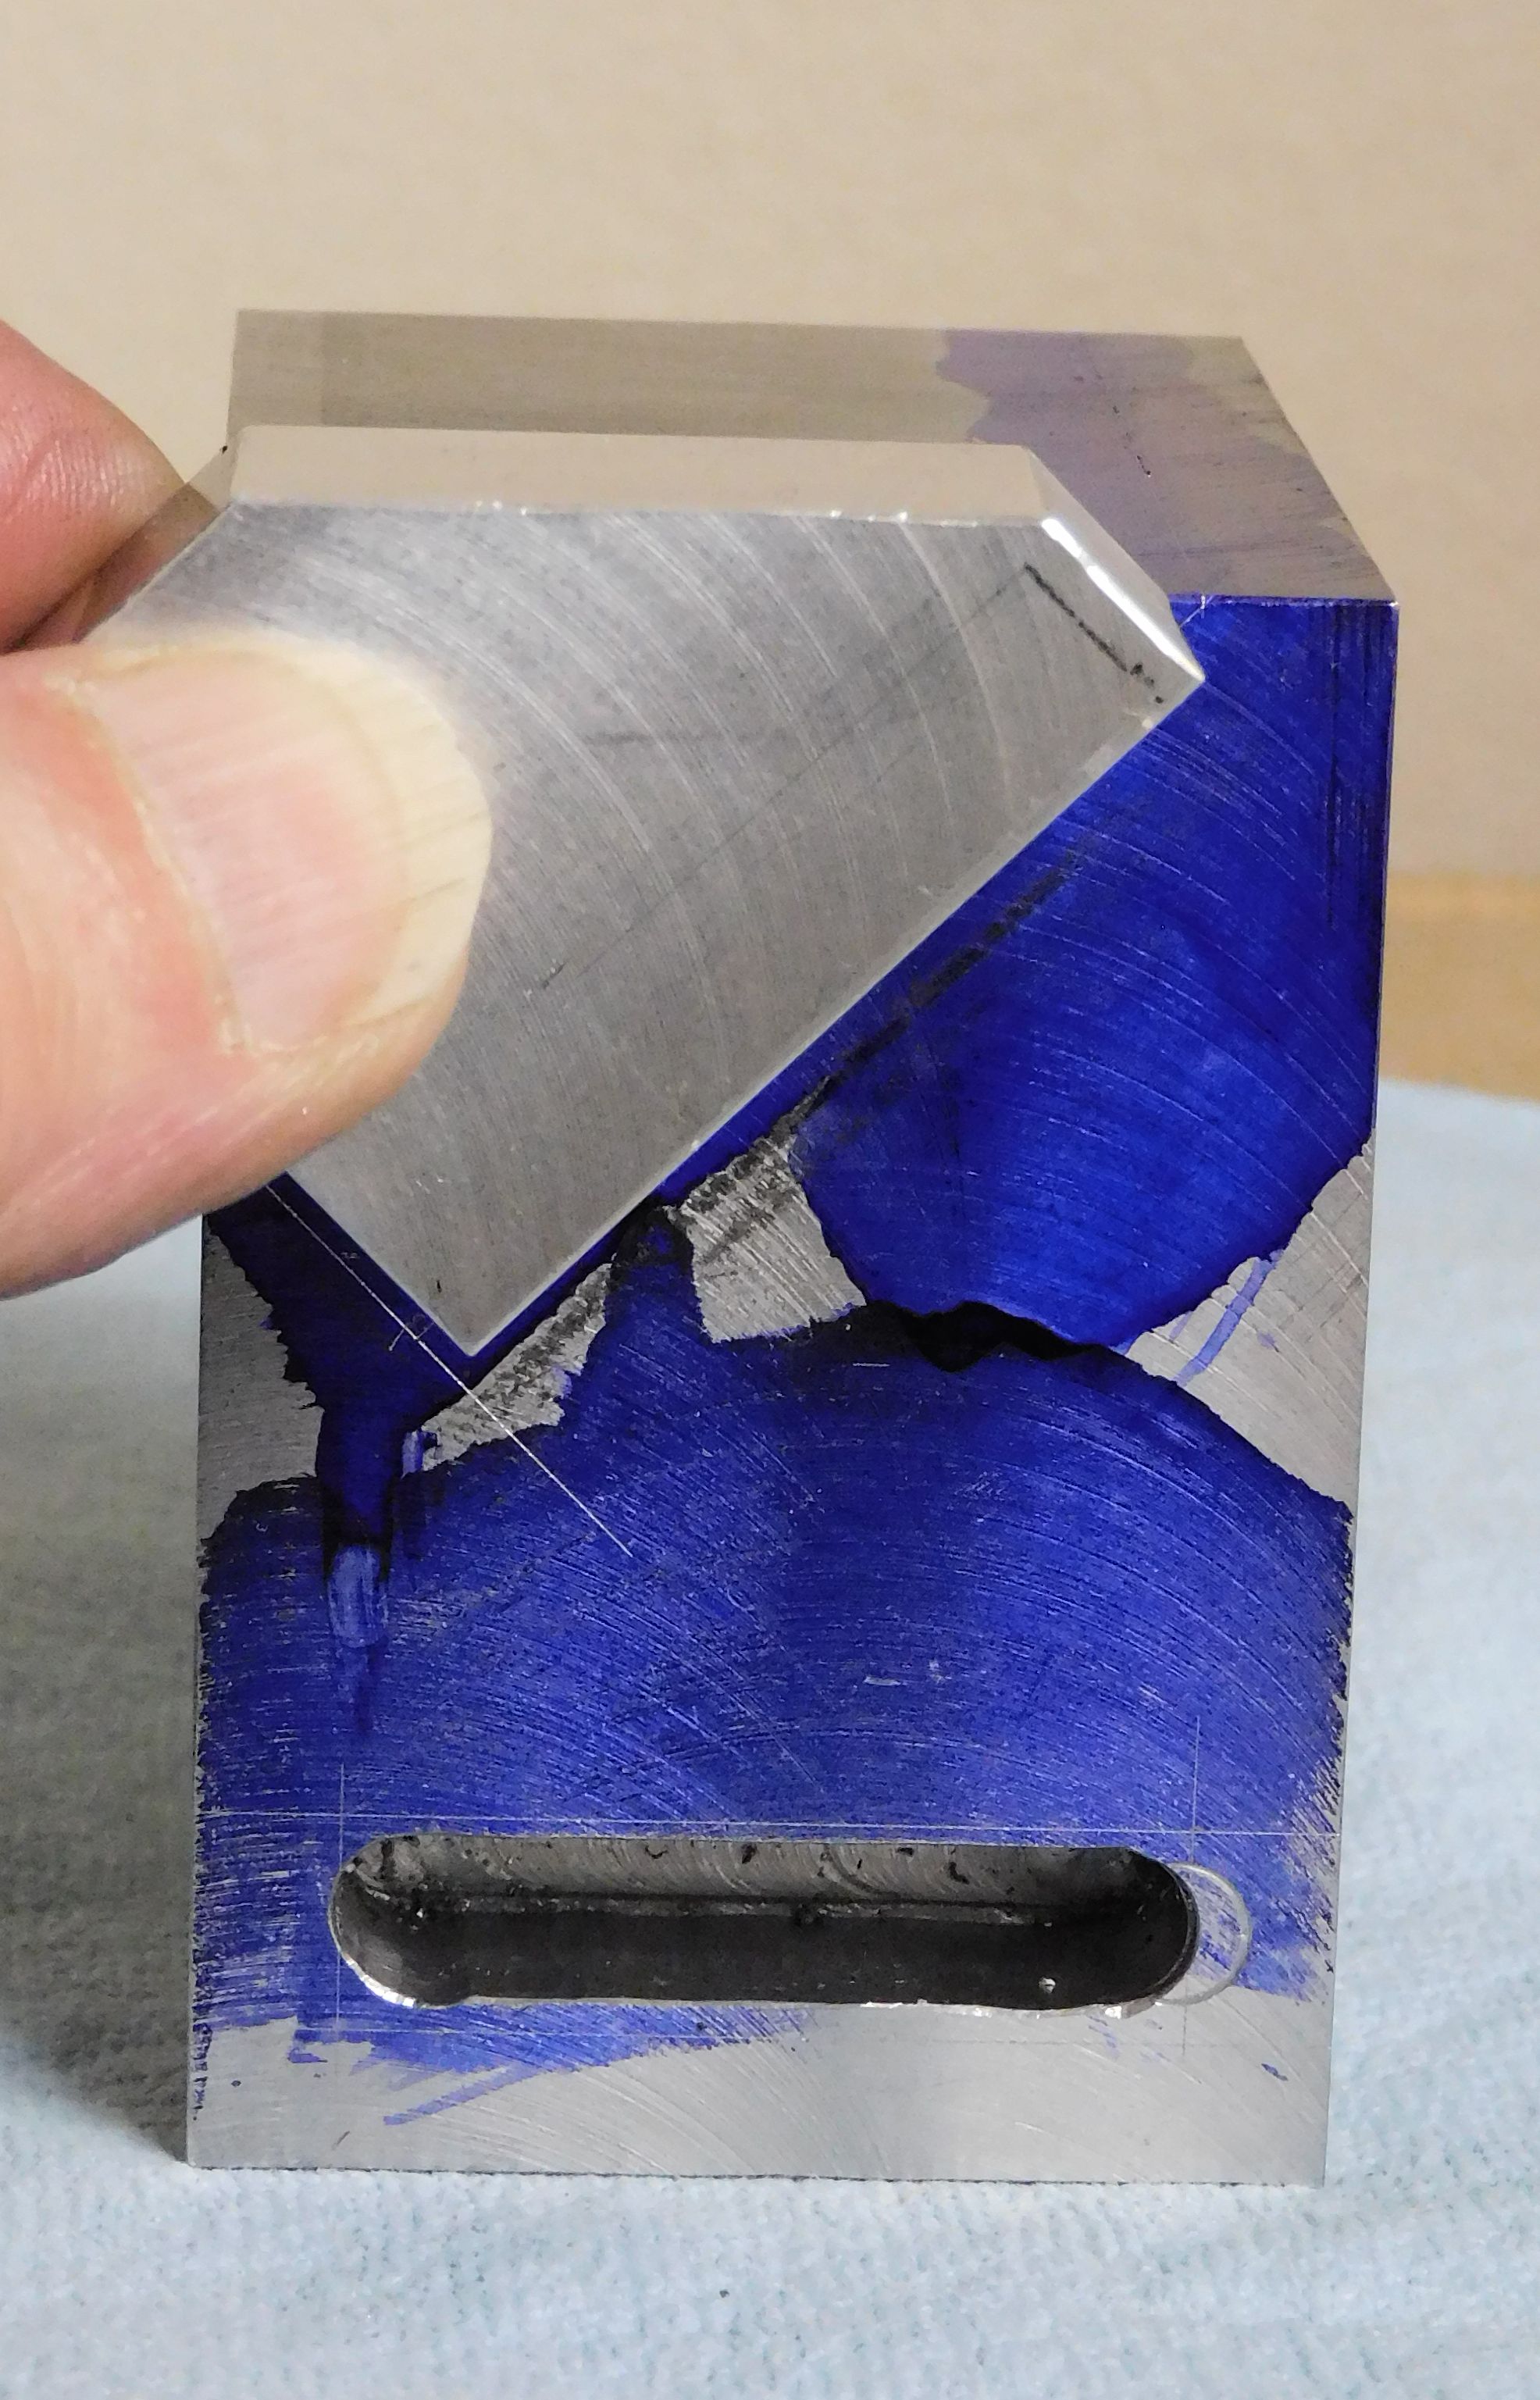
With some layout lines and hold down slots cut. Most of the top of the jig will be cut away so I'm going to uses "L" brackets in the slots to hold the jig in place on the rotary table while engraving on the sloped surface.


Jig mounted for milling

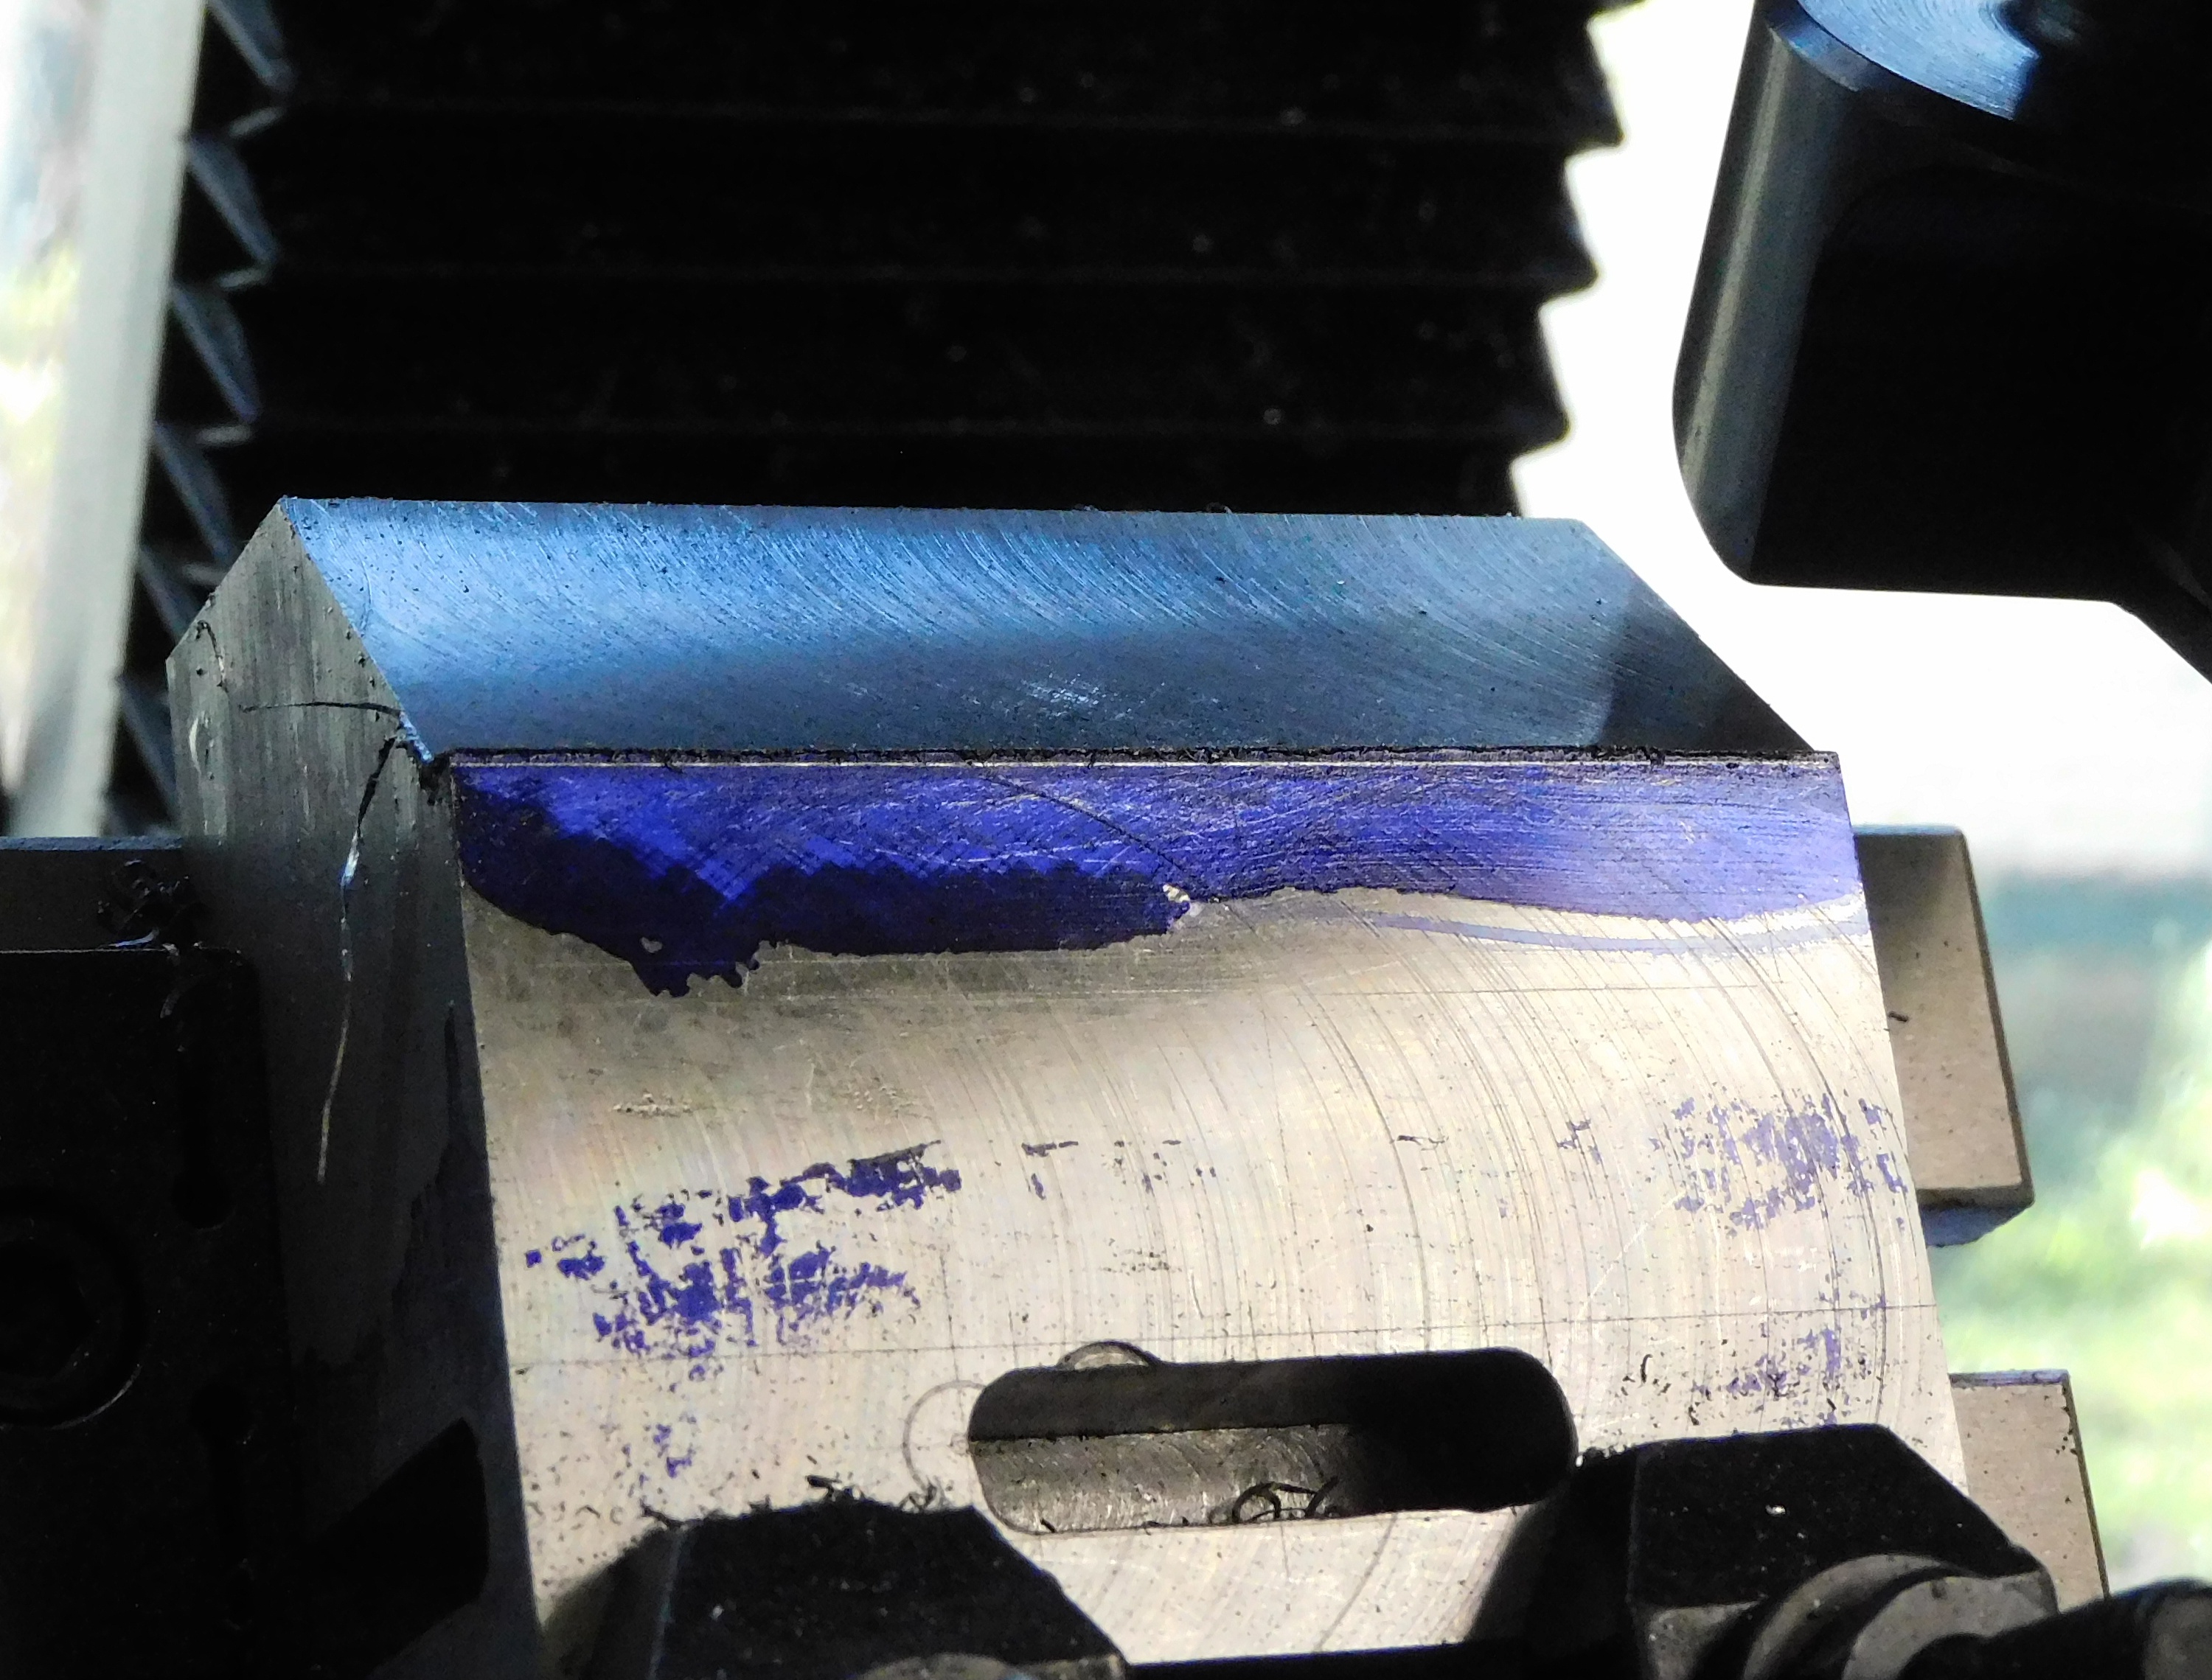
With the jig material mounted on the tilt table for milling, the metal to be removed is highlighted by the red arrow pointing to layout lines. I almost went to the bandsaw to cut off the top of the jig above the steel blue. Then I realized that the top edge, in the photo, would be lost as a reference. That edge is the only part of the jig I can easily use to orient the jig material before I start cutting. For the jig to be useful that top edge must be parallel to the x-axis of the mill (and perpendicular to the y-axis and z-axis). After much effort the 3" edge is in place within less than ±0.00025" end to end.


Needing to keep the top clear for cutting, clamping options are limited. Something more is needed to keep the jig from moving while cutting away all that metal. 


No I don't have side clamps that will work with the tilt table's T-slots. Pause making labels to make a jig. Pause making the jig to making side clamps.


With the side clamps in place. Making chips down to the first line..


jig with side-clamps in place Starting to mill the jig.

The jig to hold material while making ore car labels is "done." Still needs some time with a file to round edges and pointy corners. Cleaning wouldn't hurt. Not really happy about all the tool marks.


The plan is to use the T-slot to anchor side clamps to stabilizes the material. The threaded holes will also secure clamps. 

Jig milling complete, side view Jig with label material in place


Jig with material, front view Jig with material end view

The slots at the bottom of the jig will be used to hold the jig in place on the rotary table while working the top of the label. "L" brackets will nose into the slots, clamping tight with a bolt into a T-nut. Need to make L brackets like the one below, down sides a bit.

Oversided L clamps


In addition to finishing work on the label jig, need to make:

  • 2 to 4 L-clamps to hold the label jig on the rotary table.
  • 2 clamps to hold label material on the jig.
  • 2 side clamps to hold the material on the jig.
  • 2 T-nuts that fit the T-slot in the label jig, to hold the side clamps that hold the material.


There was a pause in the path to make labels to make T-nuts. These T-nuts are smaller than all the others on hand. The jig T-slot is made for a 1/4" bolt.


There is now a longer pause to make all the clamps to 

1/4" T-nuts with T-slot in jig hold everything in place.


Now that we can hold everything in place to work on it, back to making labels.